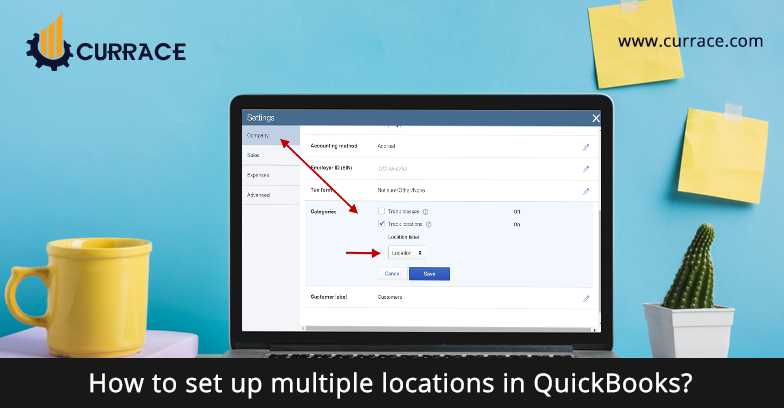
How to set up multiple locations in quickbooks?
Managing a business with thousands of products in multiple locations is a very difficult task. To overcome this problem we need multi-location quickbooks. This will help us to keep our products in sync with our business and with our customers. This is a very good idea for those companies that have multiple locations and need to track their products.
Benefits to multiple locations in quickbooks
- It helps us to track the value of the product and track how much value of products are stored in our different locations.
- With the help of this functionality, we are able to track the demand of the product and we are able to reallocate the product from one to another.
- We can purchase a product for a particular location
- We can sell products from a particular location
- We can increase our customer satisfaction by speedily delivering the products and we are able to sell products from different locations on sale.
- We can transfer our product from one location to another.
- We can generate run time-specific reports.
How to set up multiple locations in quickbooks
To set up multiple locations in quickbooks first you need to learn how to add work location. To add one location or more than one location carefully read bellow discussed points.
Steps to add work location
- Click on the company name from the top right and then click on payroll settings.
- Click on the work location from the company account.
- From there click on add location.
- Then enter your company name and address and then save it.
How to add location in quickbooks Online
- Firstly go to the settings and then select all lists .
- After selecting the list choose classes and location.
- Select new and enter you complete information
- After entering and then save them.
Steps to add multiple location in quickbooks
assign locations to classes
- Click on the edit menu from the menu bar and from there you have to select preferences.
- From preferences click on the accounting list and then click on the company preferences tab.
- After that select use class tracking from the list and then click the ok button.
- Then click on the menu list and then click the class list.
- Then from the class list click on the class drop down button.
Setup new work location
- Firstly go to the gear icon and then click on payroll settings.
- From there select location.
- After selecting choose to add location.
- Then enter your name, address, and number.
- Then save your location.
After setting new work locations you can assign employees to them:
- Firstly Go to the Employees or Payroll from the left menu.
- After selecting Add a new employee or edit an existing employee from the list.
- Then Select the Employment tab.
- select the employee’s work location From the Location drop-down menu.
- And then Select Save and close
I hope now you understand How to set up multiple locations in quickbooks? but due to any reason if you are still not able to setup then I recommend you must contact quickbooks Proadvisor and for any suggestion or advice leave a comment.

